
507 Mechanical Movements
In 1868 Henry T. Brown published 507 drawings of mechanisms — every way he knew to turn one kind of motion into another. Pick one, model it in Onshape, and 3D print it until it actually runs. Smoothly. In someone else's hands.
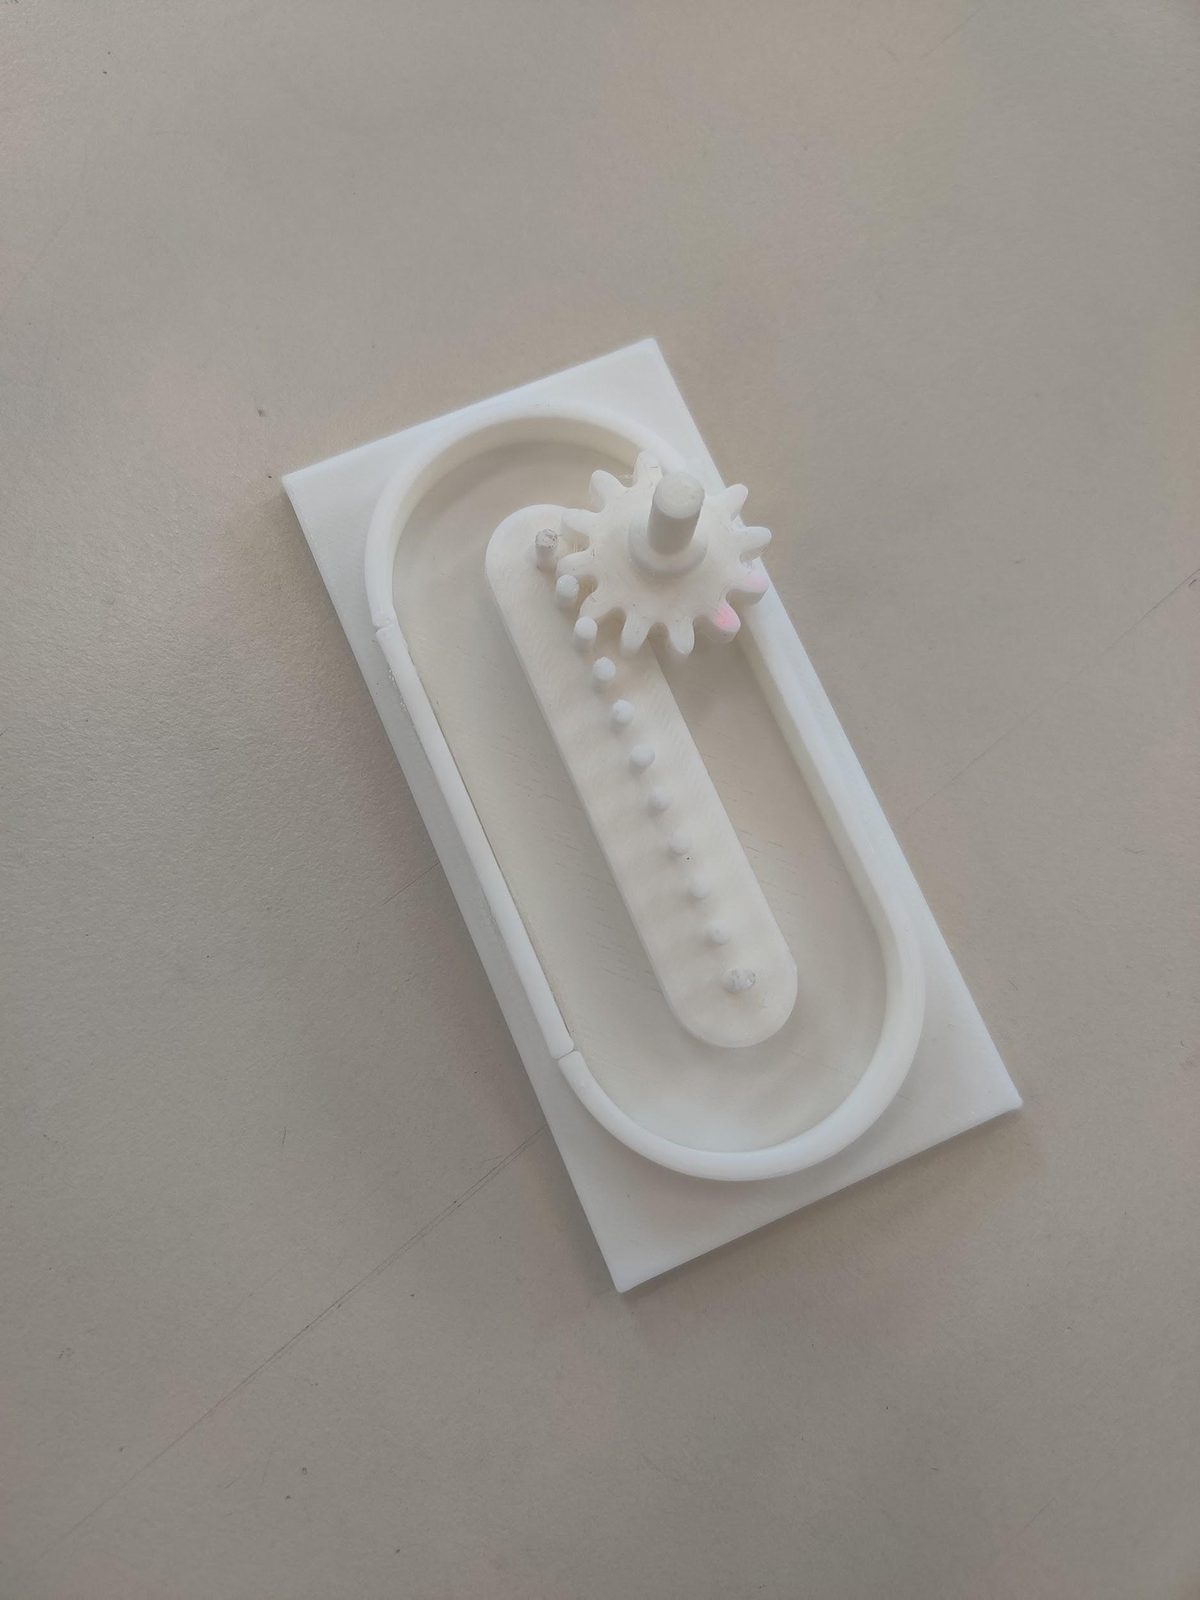
The target
One test, and it isn't yours to run. A classmate picks up your model, and it either works or it doesn't.
Anyone can run it through full cycles by hand — no sticking, no explaining, nothing falls off.
What you hand in
- A research report. Which movement you chose, how it works, and the answers to the five research questions.
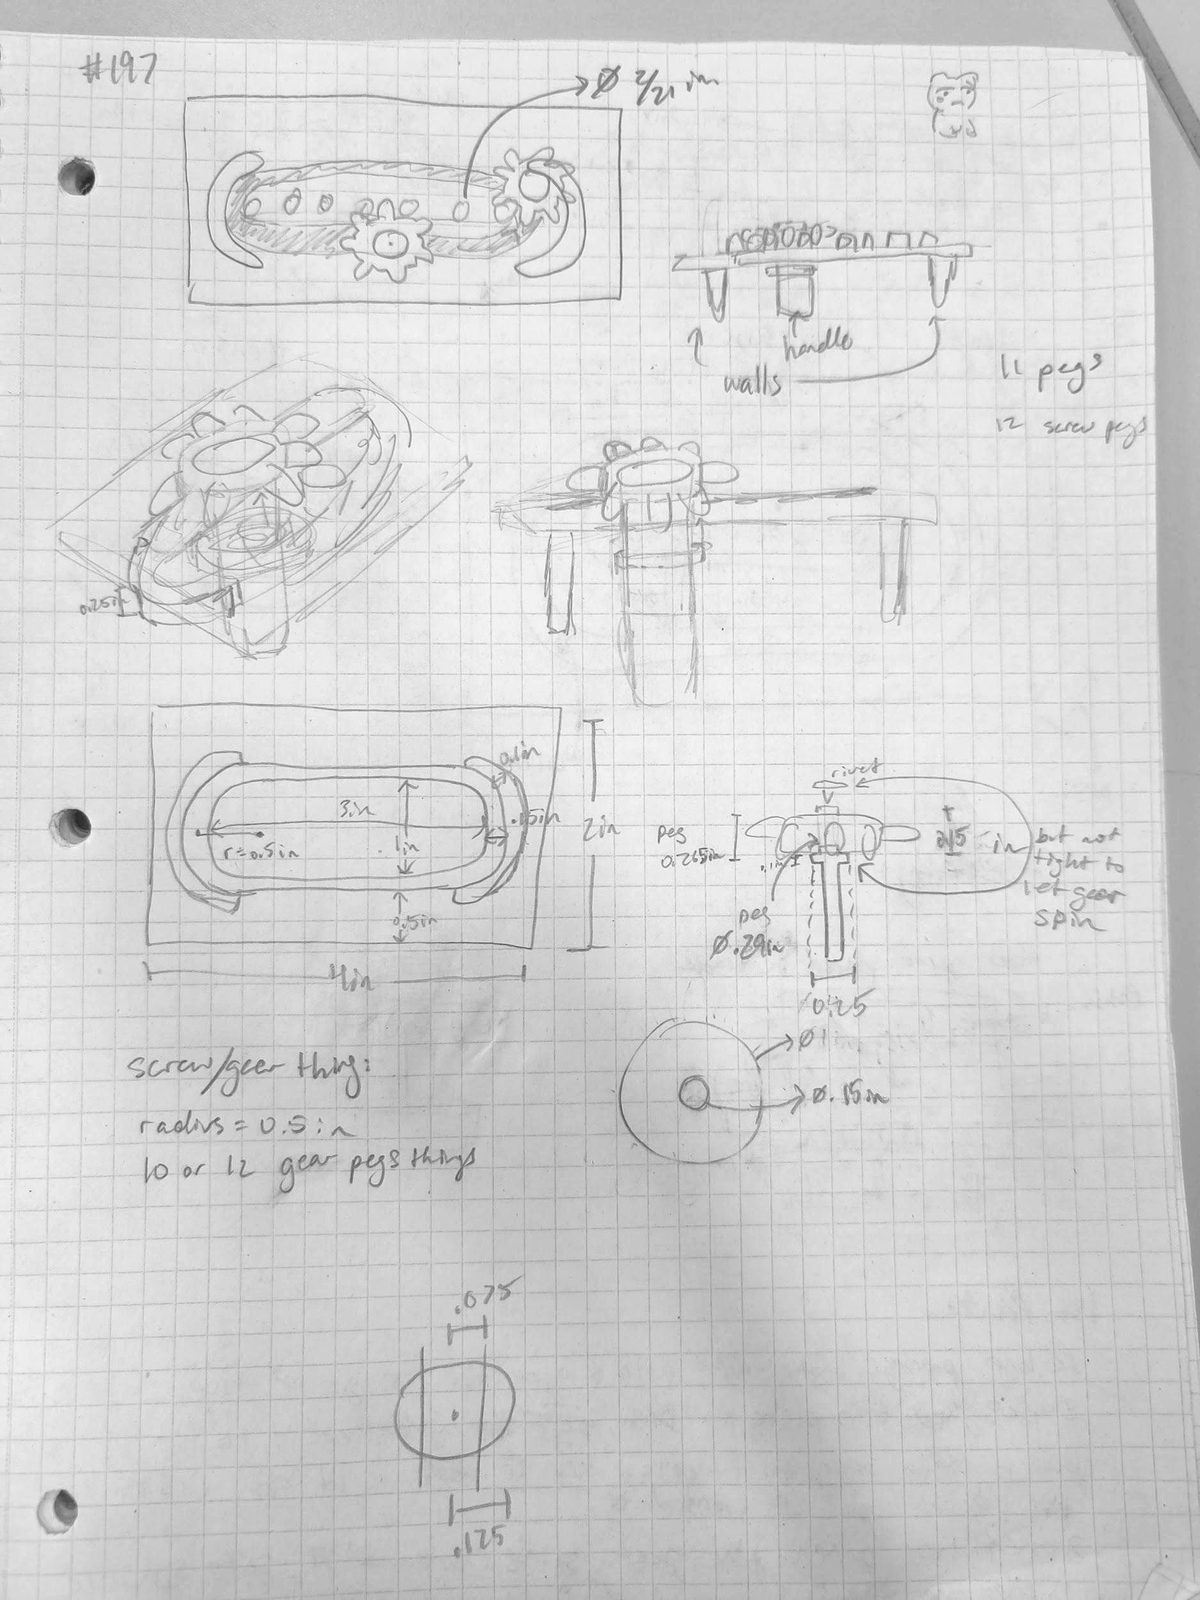
- A dimensioned hand sketch. Every part, every critical size, drawn before you open Onshape.
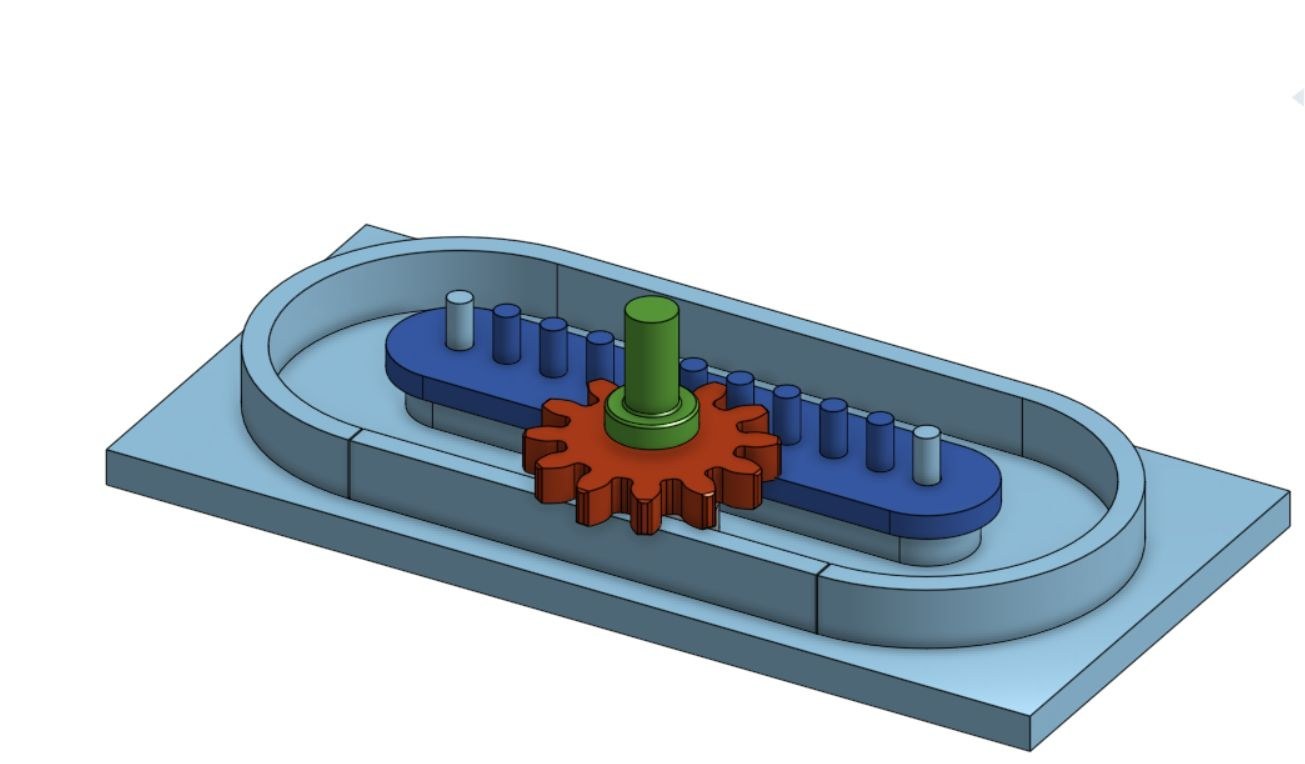
- An Onshape model. Every part in a part studio, assembled with mates, and attached to the 507 Movements assignment using Onshape's Class feature. Part names carry version numbers.
- STL files for every printed part, exported from the final version.
- An iteration record. A photo of every prototype, what went wrong, what you changed, and the print settings you used. See how to document a print.
- The final model. Working, assembled, and ready for classmates to handle.
- A 5-minute presentation. Includes an animation of your Onshape assembly, your design problems and fixes, and what you learned.
Schedule
Seven class periods, in four phases. The prototyping phase is the longest on purpose — that's where the project actually happens.
Due: TBA
Due: TBA
Final model due: TBA
TBA
Materials
- PLA for everything by default. TPU is available if a part genuinely needs to flex — ask first.
- Hardware: M2, M3, and M4 screws, washers, nuts, and heat-set inserts.
- Superglue for permanent joints only. Dry-fit first — see why.
- Units: your choice. Metric is recommended, because the hardware is metric.
Where to start
- 507movements.com — the full catalog, with animations of each movement running. Start here and browse until one grabs you.
- Printables: 507 movements in 3D — models other people have printed. Use them to judge scale and approach. Do not download and print them. Your model is your own design.
- ViewSTL — open an STL from Printables in your browser to see how someone else split the parts up.
One from a previous year
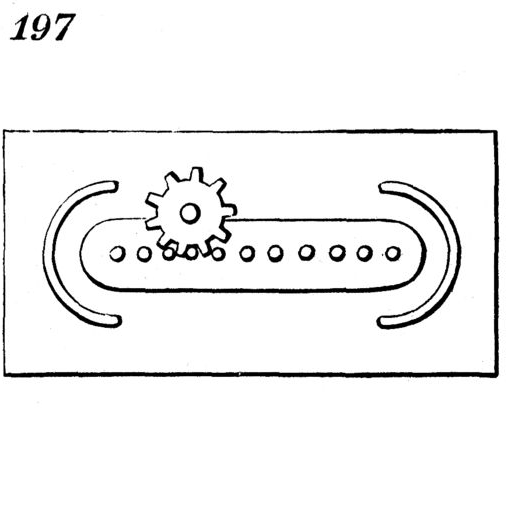
Movement 197, start to finish. The full story — including what broke — is on the guidance page.
Before you print anything, read Making Parts in the shop procedures. Failed prints are wasted material, and wasted material counts on your daily grading page score.