
Making Parts
Three ways to get a part made in this shop. For the laser and the CNC you design the file and submit it — Mr. Hubbard runs the machine.
3D Printing
- How to design for the 3D printer at THSLink needed
-
How to 3D print using OrcaSlicerVideo
Walkthrough of slicing and sending a print in this shop.

Laser Cutting
- How to design for the laser cutter at THSLink needed
- How to prepare a file for the laser cutterLink needed
-
Upload your file to be cutGoogle Drive
Drop your finished file here and Mr. Hubbard will cut it.
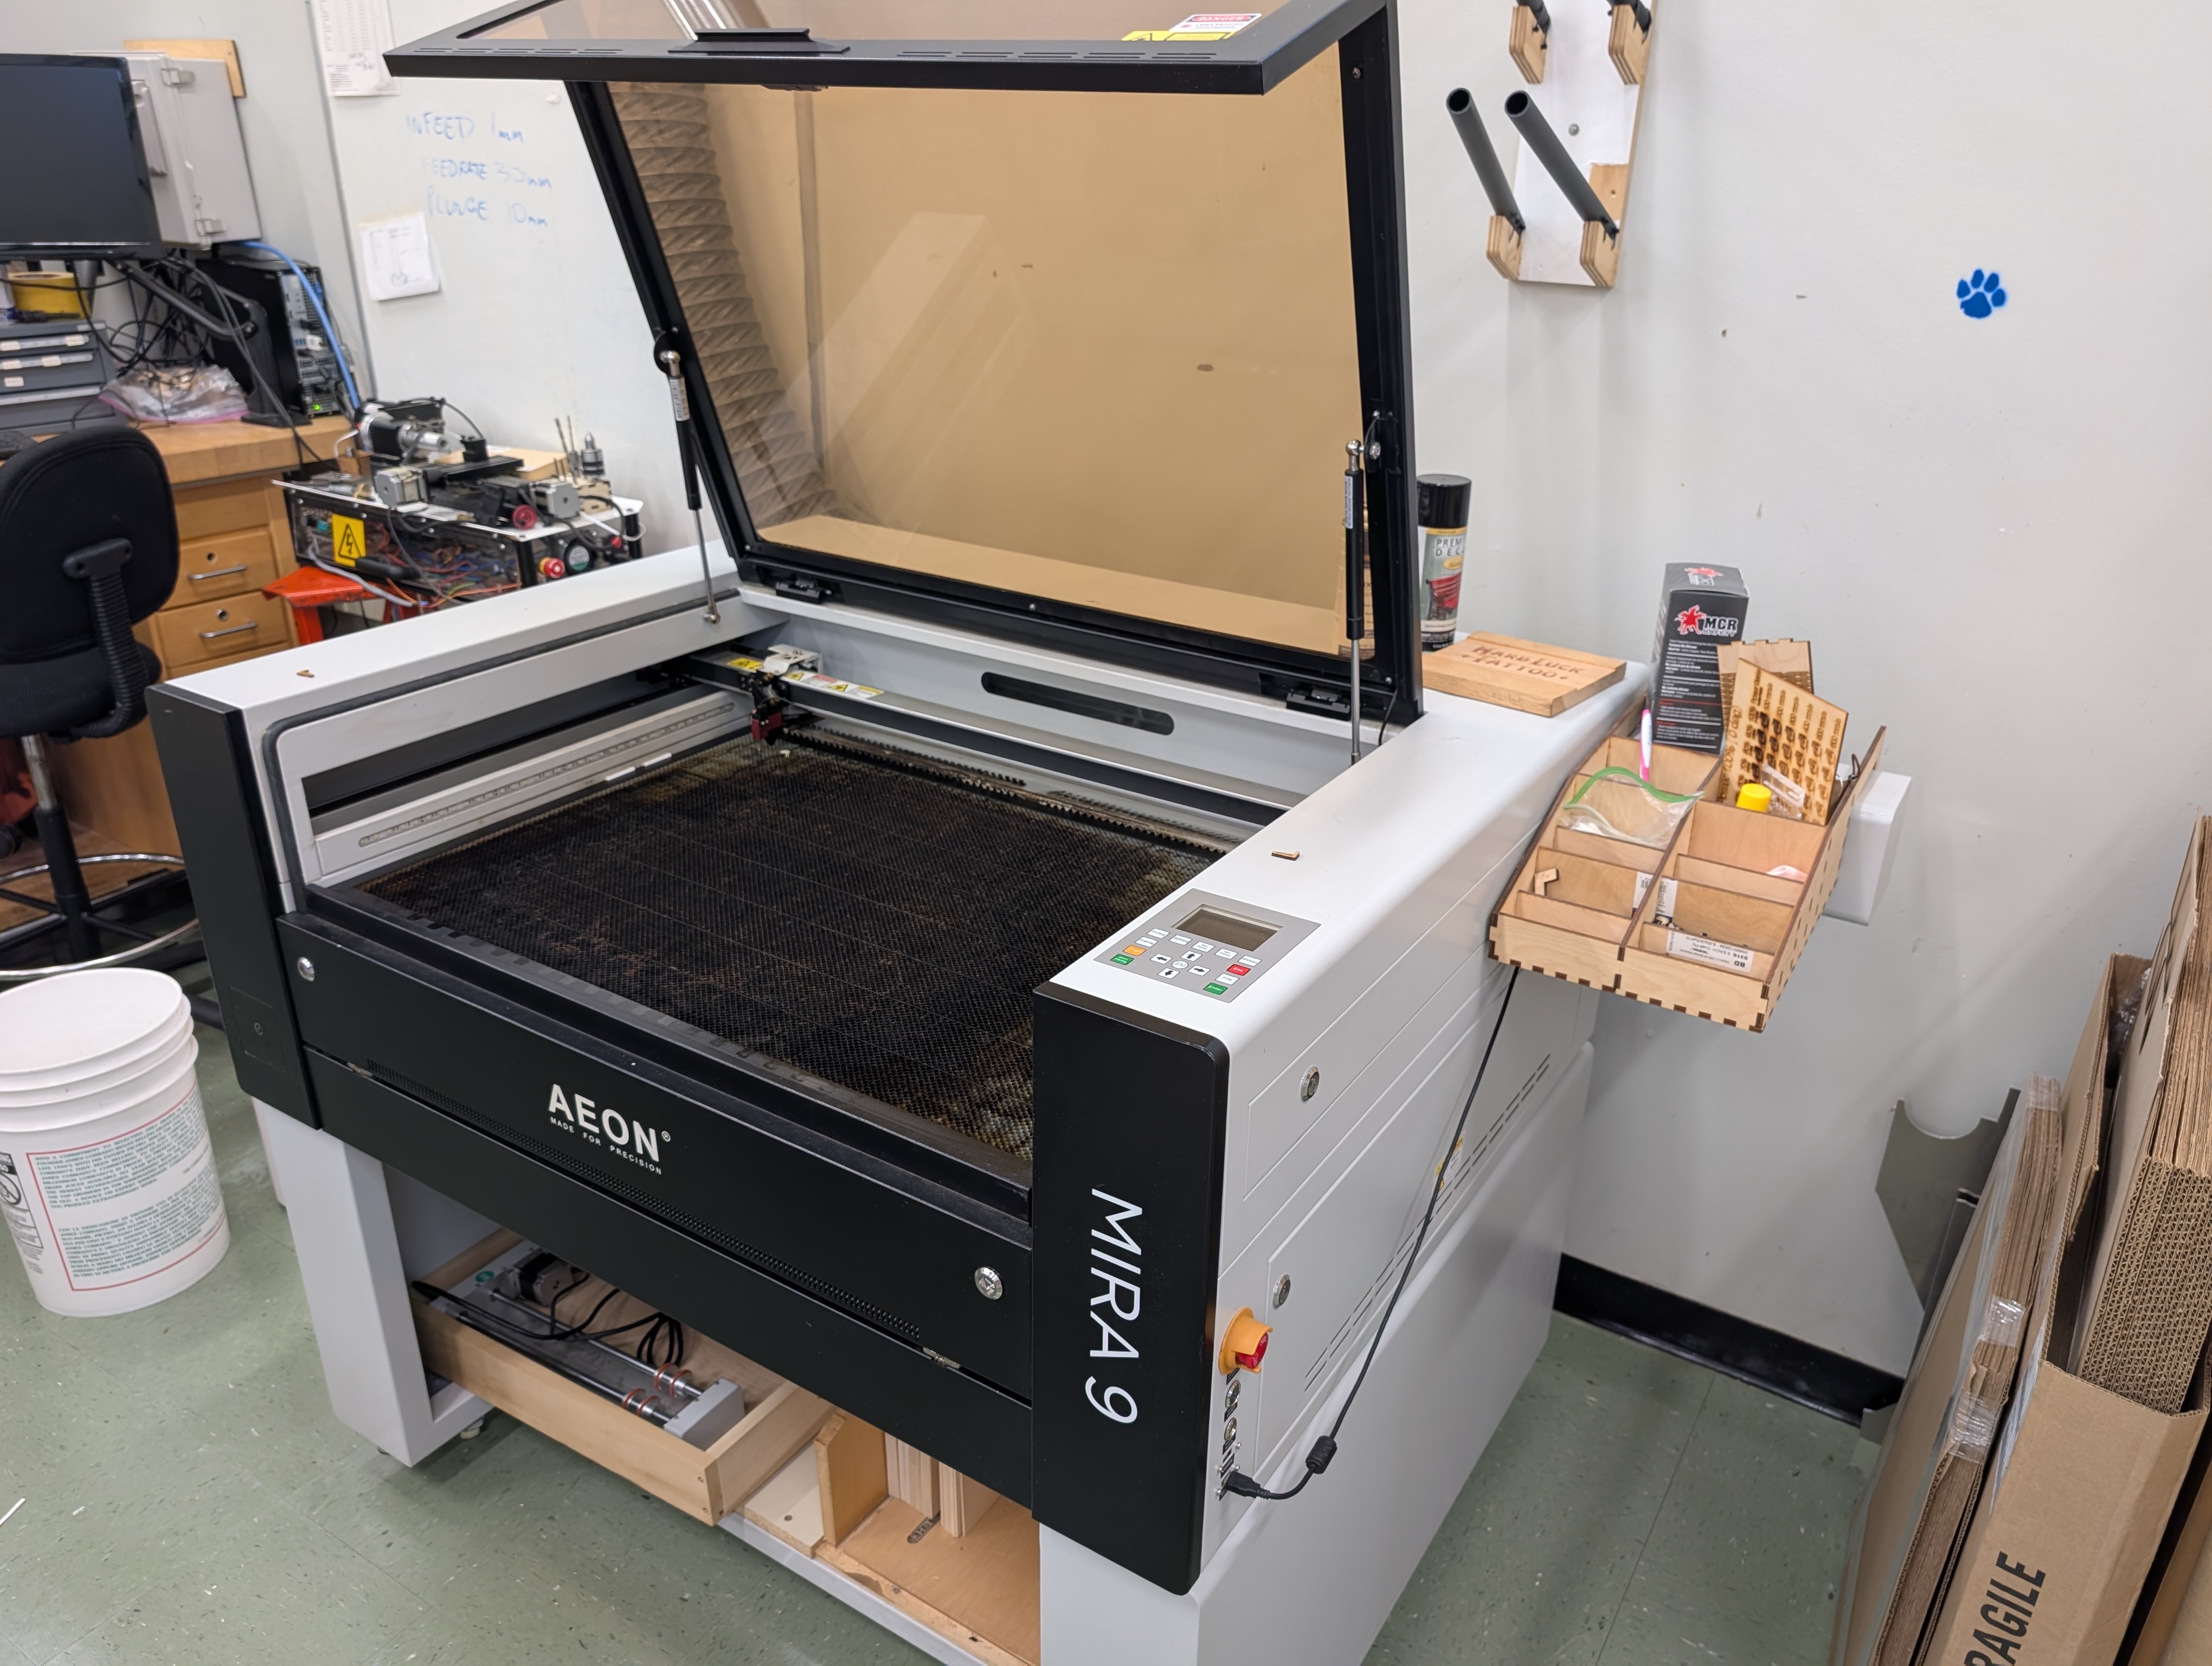
CNC Mill and Lathe
- How to design for the CNC mill and latheLink needed
- How to prepare a file for the mill or latheLink needed
-
Upload your file to be cutGoogle Drive
Drop your finished file here and Mr. Hubbard will run it.


Onshape add-ons
These five add-ons do the fiddly geometry for you — finger joints, bolted edges, kerf allowance, nesting parts for a cut. Worth installing before you start designing anything for the laser.
Installing one
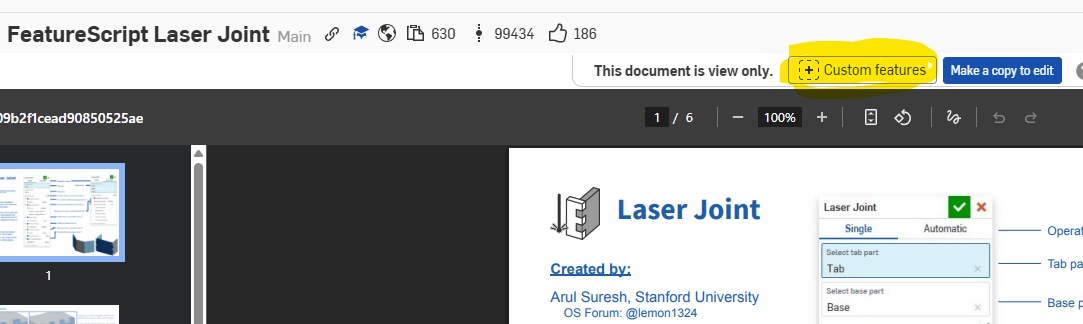
Open any add-on link below, then click the Custom features button in the top right.
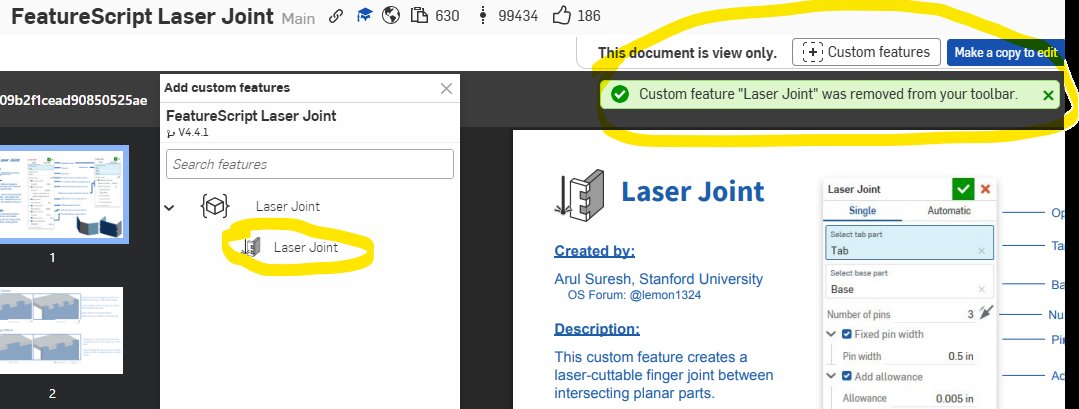
In the panel that opens, click the name of the feature in the list. It's added to your toolbar and stays there for future documents.
The add-ons
-
Laser JointOnshape
Generates finger joints between intersecting plates.
-
T-Slot JointOnshape
Creates bolted edge connections between plates.
-
Kerf CompensationOnshape
Adjusts geometry for the width the laser burns away. Every laser cutter on campus needs this.
-
Auto LayoutOnshape
Packs your parts onto the sheet automatically so you waste less material.
-
Kiri·MotoOnshape app
Slices your models for 3D printing, or generates CNC toolpaths. Also available on its own website.
-
Spur GearOnshape
Creates a mathematically correct spur gear, with an optional center bore hole and keyway.
-
Thread CreatorOnshape
Creates mathematically accurate screw threads — standard, acme, and square profiles, including multi-start screws.
Laser Joint, T-Slot Joint, Kerf Compensation and Auto Layout were created by Arul Suresh at Stanford University.